
How to use our LED Gel Lash System
Step #1 - Prep
Prep the lashes as usual, wash the lashes with shampoo, and apply pretreatment for a squeaky clean slate.
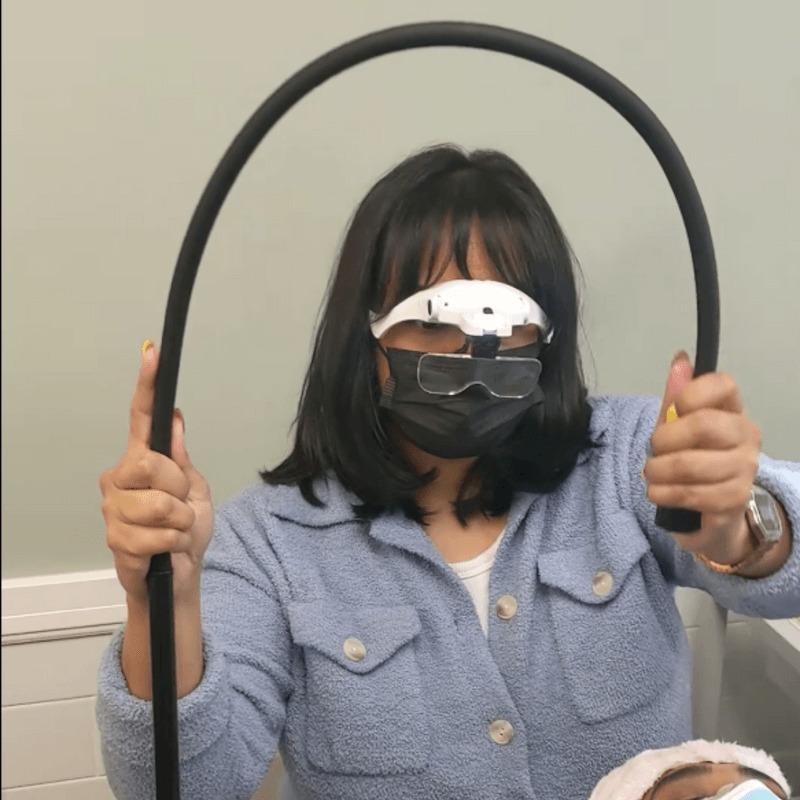
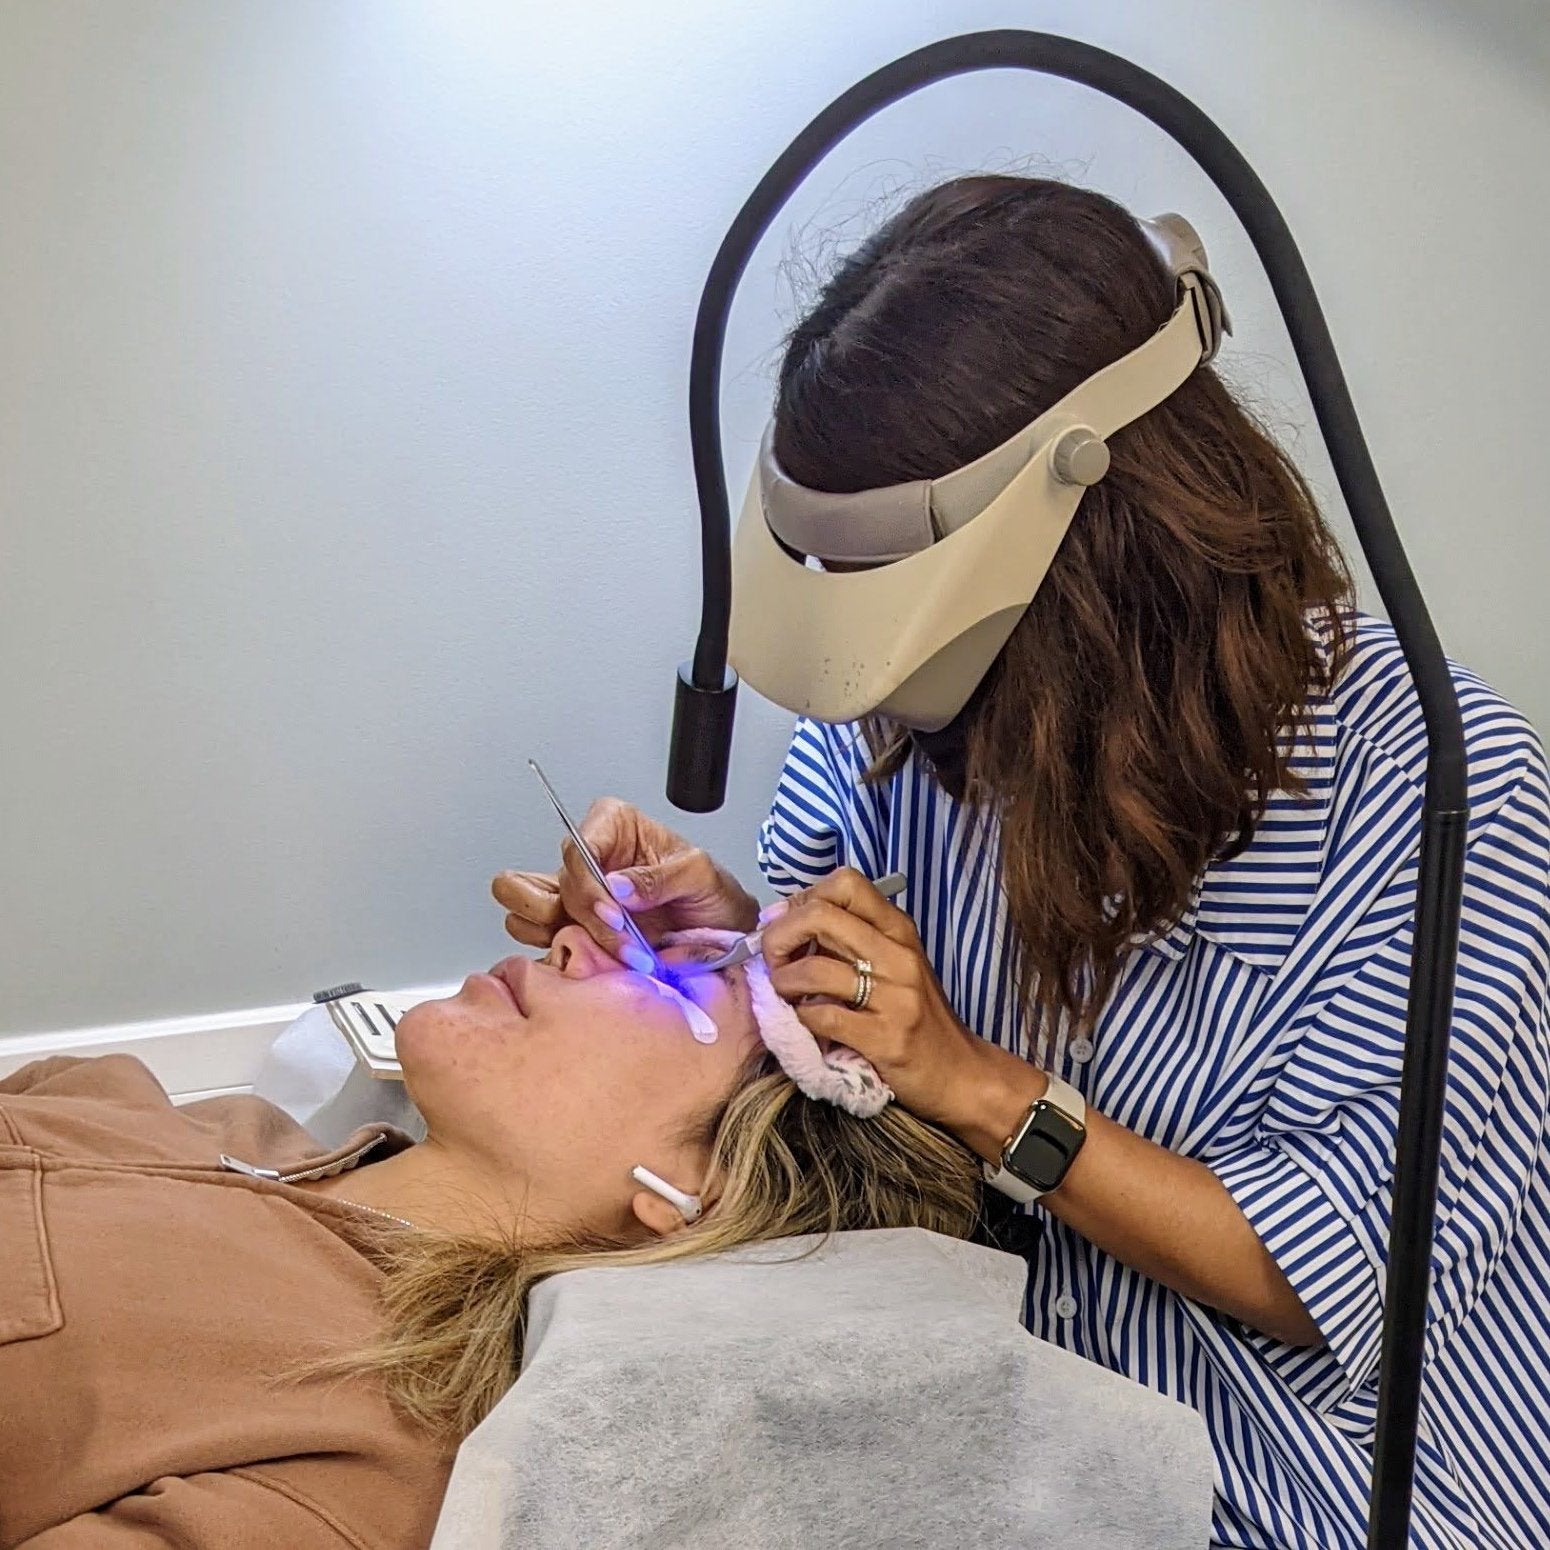
Step #2 - Bend & Check
Grab the super flexible gooseneck, and position the GL400 LED lamp head 10 to 15 cm above the eye you're working on. Once in position, step on the foot pedal for a second to make sure the light is shining on the eye
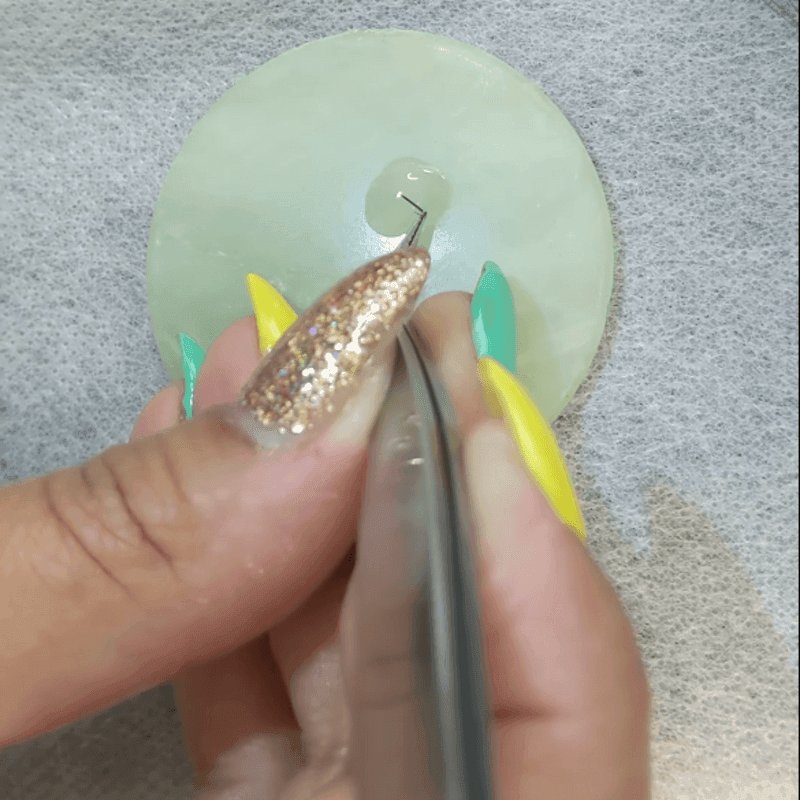
Step #3 - Dip
You dip the extension in the LED Gel Glue, just as you do with traditional glue. You can use jade stone, or glue ring. Whatever you are used to works!
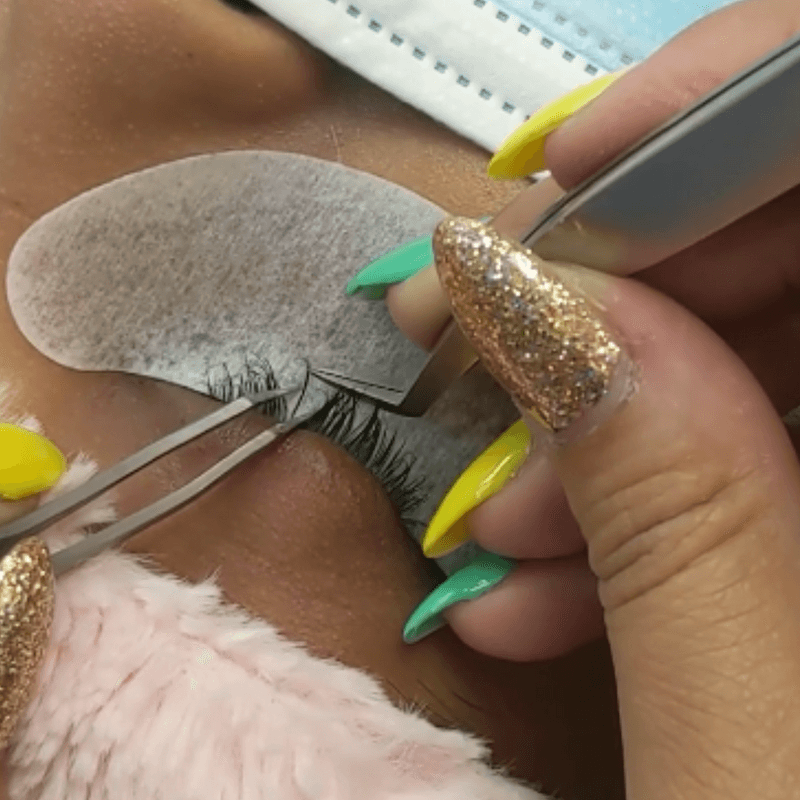
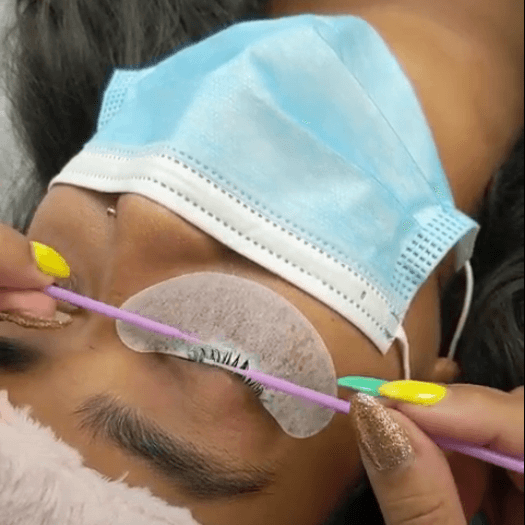
Step #4 - Isolate & Align
Isolate the natural lash you want to work on, and place an extension on it. Align them carefully! At this point the glue is not cured, so you can wiggle and adjust all you want.
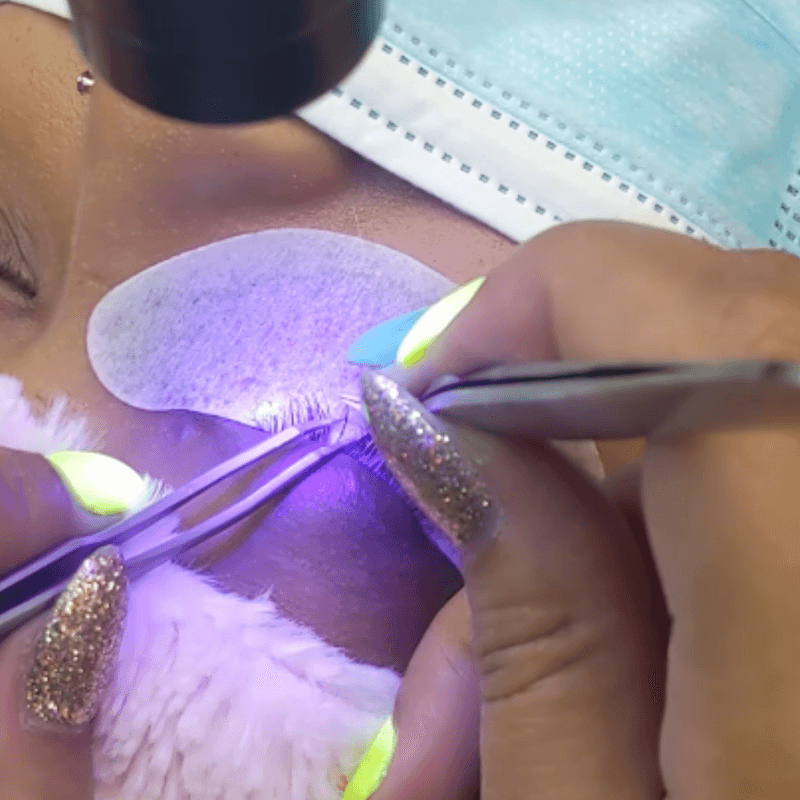
Step #5 - Flash & Cure
When you are ready, step on the foot pedal to flash the light and within 1 to 2 seconds, the LED gel glue is completely cured.
Step #6 - Repeat
Because the glue is completely cured, continue working on neighboring lashes to save time. No need to alter the eyes, no need to worry about stickies!